Overview
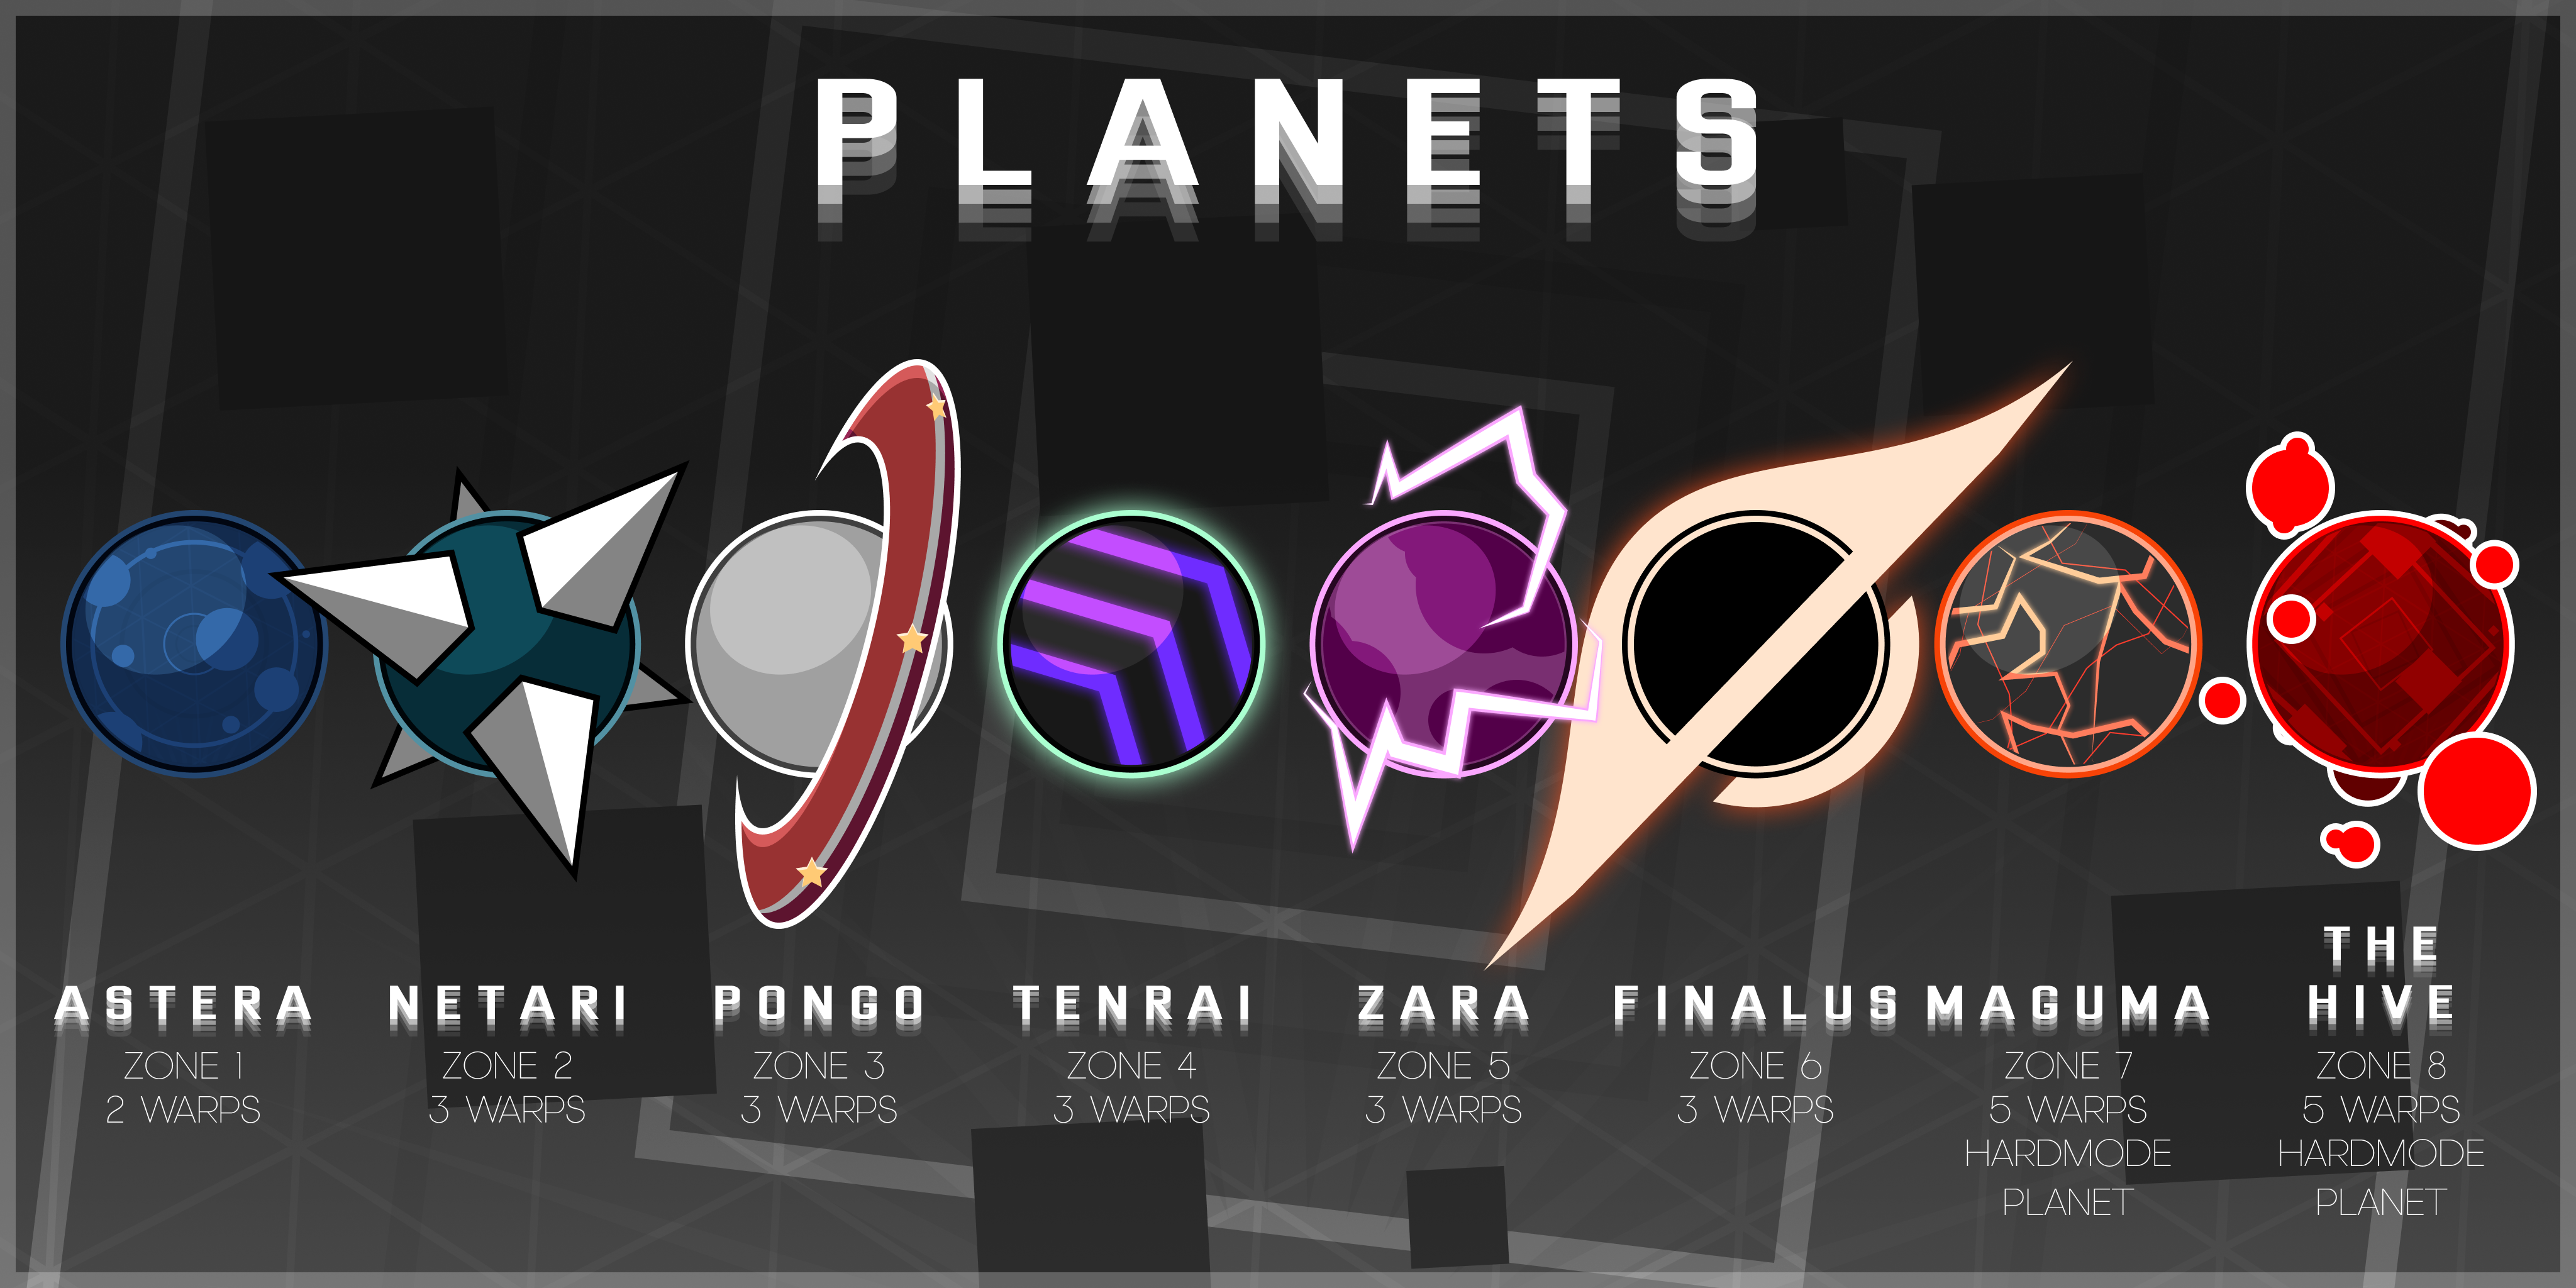
Zones are additionally referred to as Planets. Each planet has a unique set of gimmicks (that being environmental hazards, asset aesthetic, enemy types) that makes each planet stand out from one another.
ASTERA
"The outer gas giant of the solar system. While its near circular clouds are beautiful, there is nothing remarkable about this planet."
Description
Astera is the 1st planet of the campaign. Its zone is considered the default in terms of gimmicks and enemy spawns. It takes 2 warps to reach Astera.
Zone Hazards
Astera's arenas have no hazards present beyond the arena borders.
Enemies
- Swarm (Standard) - Swarm appear for the first time on this planet.
Final Stage
Astera's final stage is a bonus stage. Swarm will spawn in the arena boundaries for 90s for a chance at extra points. Defeating all swarm at the end of the timer of the bonus stage will award a perfection bonus.
NETARI

"An ice giant covered head to toe in giant spikes. The area around this planet is littered with icy asteroids and Anti-Glider Mines from a war long ago..."
Description
Netari is the 2nd planet of the campaign. Its zone is the first to introduce environment hazards in the form of free floating asteroids and static mines.
Zone Hazards
- Asteroids: Asteroids will float aimlessly in the arena unless hit or glided on, at which point they will move in the opposite direction of the force applied to them. Asteroids that take damage will break into 2 smaller asteroids (Large > Medium > Small). Large asteroids will instantly destroy anything they run into while moving. Medium asteroids will deal 1 damage to anything they run into while moving. Small asteroids will briefly stun anything that runs into them and be destroyed.
- Mines: Mines are anchored in the arena and will explode when hit by anything. The explosion will instantly destroy gliders and non-boss entities. Environmental entities (such as asteroids) and bosses are dealt 1 damage.
Enemies
- Swarm (Standard)
- Warrior (Standard) - Warriors appear for the first time on this planet.
- Hunter (Standard) - Hunters appear for the first time on this planet.
Final Stage
Netari's final stage is a boss stage. The specifics of the boss are TBD.
PONGO

"Pongo takes the theme of a giant pinball machine, sounds and all! Nobody really knows how this formed naturally, but anything is possible in the vastness of space."
Description
Pongo is the 3rd planet of the campaign. This zone's hazards are similar to Netari, but Pongo is the first to introduce non-lethal hazards, as well as time-based events.
Zone Hazards
- Pinball: Giant pinballs fly around the arena, hitting other environmental hazards and entities alike. Destroys any entity it runs into.
- Bumpers: Deals no damage, but pushes anything that touches it into the opposite direction. Can appear as standalone discs, or on walls.
- Wall: Not to be confused with the arena wall. Wall segments act as static obstacles that can be glided off of.
- Paddles: Large flipper paddles. The paddles will shock and stun anything hit, and send pinballs flying! Deals 1 damage.
- Time Events: Contains the following time events:
- Multiball (Random chance upon starting a stage): When triggered, spawns 3 Pinballs in the arena instead of 1.
Enemies
- Swarm (Standard)
- Warrior (Standard, Elite) - Elite Warriors appear for the first time on this planet.
- Hunter (Standard)
Final Stage
Pongo's final stage is a bonus stage. Warriors will fly in and out of the arena boundaries in formations for a chance at extra points. Defeating all waves of the bonus stage will award a perfection bonus.
TENRAI
"Tenrai is home to volatile winds and a solid grey surface. Some wind tunnels ionize the argon in the air, giving the planet its signature glow."
Description
Tenrai is the 4th planet of the campaign. This planet focuses on momentum gimmicks over pure damaging. It aims to be a test of skill in preparation for the final planets of the solar system where perfect piloting is crucial to progress.
Zone Hazards
- Speed Tunnel: Speed tunnels push entities in the direction they are facing.
- Wall: Not to be confused with the arena wall. Wall segments act as static obstacles that can be glided off of.
- Time Events: Contains the following time events:
- Tunnel Swap (Timed): When triggered, speed tunnels will invert their direction.
Enemies
- Swarm (Standard)
- Warrior (Standard, Elite)
- Hunter (Standard, Elite) - Elite Hunters appear for the first time on this planet.
- Vulture (Standard) - Vultures appear for the first time on this planet.
Final Stage
Netari's final stage is a boss stage. The specifics of the boss are TBD.
ZARA
"Zara's hurricanes are nothing to sneeze at. Many pilots have met a swift end in the planet's oil oceans due to the electromagnetic storms overhead frying their Glider's electronics."
Description
Zara is the 5th planet of the campaign. It is the only planet with a passive effect applied to its zone alongside its hazards. Players will need to master hit and run tactics in order to survive this zone.
Zone Hazards
- Electric Cloud: Electrified clouds temporarily stun any entity that flies into it. Deals no damage.
- Lightning Strike: Lightning strikes will occur periodically, following the player until the last second before it strikes. Being too slow will cause the strike to hit. Destroys any entity hit by the shock within its radius.
- Passive Effects: Contains the following passive effects:
- Electromagnetic Storm: The player's Standard and Tied Shields are disabled during this zone and will not regenerate.
- Note: Systems affected by Tied Shields will not be disabled during this effect.
- Electromagnetic Storm: The player's Standard and Tied Shields are disabled during this zone and will not regenerate.
Enemies
- Swarm (Standard)
- Warrior (Elite)
- Hunter (Elite)
- Vulture (Elite) - Elite Vultures appear for the first time on this planet.
Final Stage
Zara's final stage is a bonus stage. Vultures will spawn around the map and begin targeting the player until they are destroyed. Final stage vultures will attack after 10s and any damage taken by them will end the bonus stage. Defeating a certain number of vultures will award the player with a perfection bonus.
FINALUS
"A black hole far beyond the reach of the solar system. Its a long journey there, and certainly not an easy one. Only the most advanced Gliders can make it past the pull of Finalus, so be sure you're well prepared before you make the trek..."
Description
Finalus is the 6th planet of the campaign, and the ending of the free version / standard Glider's campaign. Nothing but the pull of gravity and the strongest enemies exist in this zone.
Zone Hazards
- Black Hole: A black hole sits in the center of the arena, slightly pulling all entities into it. Flying too close will cause the entity to get sucked in, destroying them instantly.
- Space Debris: Space debris is pulled into the arena by the black hole. Anything hit will take 1 damage, be temporarily stunned, and pushed slightly towards the black hole.
Enemies
- Warrior (Elite)
- Hunter (Elite)
- Vulture (Elite)
Final Stage
Finalus' final stage is a boss stage. The specifics of the boss are TBD.
MAGUMA
"This planet lies within the orbit of Finalus and is actively being torn apart by the force of gravity itself. Its nothing but uncharted territory from here."
Description
Maguma is the 7th planet of the campaign, and the first hardmode planet. Hardmode planets act as a test of skill more than introducing new gimmicks since all of the existing planets fulfil that niche. All hardmode planets now take 5 warps to complete as opposed to 3.
Zone Hazards
- Asteroids: A magma themed reskin of Netari's Asteroids. Functionally behave the same.
- Magma rivers: Rivers of magma flow on the floor of the arena. flying through them while heated applies the same effect as Zara's Electric Clouds.
- Time Events: Contains the following time events:
- Heatwave (Timed): When triggered, The magma rivers swap between being heated or cooled. Cooled magma rivers do not apply any effects.
Enemies
- Swarm (Standard)
- Warrior (Standard, Elite)
- Hunter (Standard, Elite)
- Vulture (Standard, Elite)
Final Stage
Finalus' final stage is a boss stage. The specifics of the boss are TBD.
THE HIVE
"What appears to be a planet overrun by the Swarm. Its so enemy dense it coats the planet red. Reach the core and purge the scourge from within, good luck Pilot."
Description
The Hive is the 8th and final planet of the campaign, and the second hardmode planet. This planet trades environmental gimmicks for a horde-type combat loop.
Zone Hazards
The Hive's arenas have no hazards present beyond the arena borders.
Enemies
- Swarm (Standard)
- Warrior (Standard, Elite)
- Hunter (Standard, Elite)
- Vulture (Standard, Elite)
Final Stage
Finalus' final stage is a boss stage. The specifics of the boss are TBD.